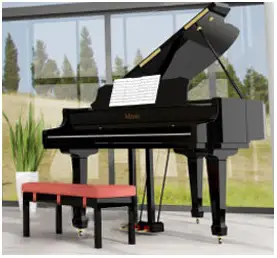
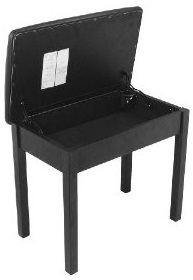
Most piano benches give you the added advantage of a storage space so that you can keep your music related materials. Here’s how to build a Piano Bench with Storage. In case you have the knack for building things yourself, you can save some money by making your own piano bench. Once you cut the wood, here’s how to assemble everything together; here’s a checklist that will help you make one.
introduction
Most concert piano benches usually don’t have storage space in them, because the importance is more on comfort and so that space is used for providing better cushioning.
However, most other piano benches come with a storage space in them. And it can actually be quite handy to keep music related things.
Looking for a plan so that you could make your piano bench, preferably with storage, then here is what you need to do.
Pianos can by expensive instrument, and there are certain accessories like bench that you definitely need to comfortably play the piano.
So in case you are looking for ways to cut cost here, and have some wood-working skills, then you can definitely put that to use here.
Why Build Your Own?
There are many who choose to build their own piano benches, mainly because they are good at wood-work and also so that they can save a bit on cost.
Though reduced cost may not always be a reality, you can be assured of good quality because you get to choose the type of wood to be used.
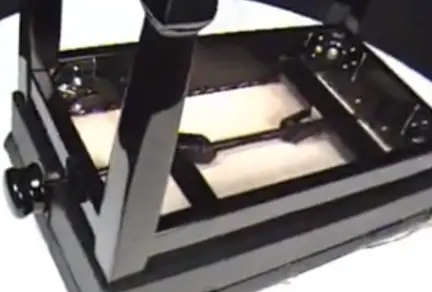
Once you have cut the wood, you need to cut it to the right dimensions and then put it all together.
Fancy making your own piano bench with storage? You can follow the steps here.
Select & Cut Wood of the Right Dimensions
One of the main ingredients required to make a wooden bench is wood of course. Here’s how to choose and cut the wood of the right dimensions for your piano stool.
A standard bench is around 14 inches by 29 inches and approximately 20 inches in height (the wood material itself is around /2 inch thick).
The first step is to select the right wood. Most piano benches are usually made of walnut, mahogany or ebony wood, so choose one that fits your budget.
Next is to cut the wood into the correct dimensions. This includes the top, the sides, and the four legs.
Lay the largest piece of wood on to a flat surface. Take the two long, thin pieces and place them along the sides of the large piece of wood. Position the short, thin pieces on the wood along the short sides of the larger piece of wood. Align the pieces so that the edges are not hanging over the sides.
You will need four pieces of wood that will make the legs. The legs need to measure around 18 1/2 inches long and a couple of inches in diameter. Next is to glue them all together and stain the piano Bench.
Instructions for Making a Bench

Here’s a plan that will help you make a piano bench, with storage space for keeping your music sheets and books.
Here are the things that you’ll need
- 2 wood boards [3″ x 0.5″ x 12″]
- 2 wood boards [4″ x 0.5″ x 24″]
- 1 wood board [12″ x 1″ x 24″]. You’ll also need four wood posts [2″ x 2″ x 17″] that will go to each corners of this board.
Remember that the measurements are more of guidelines, and you could be flexible. You also have to account for the thickness of the boards.
Instructions to put them together
- To begin with you need to cut the wood into the desired pieces. As mentioned, the length could be modified based on the height you desire.
- Sand the wood pieces with sandpaper and make them smooth.
- Use glue and screws to firmly tie all the pieces together. For added stability, you can install corner brackets inside the frame of the bench.
- Add a wood stain of your choice to the bench so that it complements your piano, and also the surrounding décor.
As far as the piano bench cushions are concerned, you can order new ones, or make a simple one using foam stuffing, cotton cloth and an elastic band that can slip around the top frame.
Additional Steps for Storage
In addition to the steps outlined above, you need to repeat the process that was done to make the frame. Put the wood in a rectangular shape, and glue it to the frame.
This is how to make a piano bench with storage.
Assemble, Stain, & Build the Bench
You need to tie up all the pieces together so that they stay secure and the overall bench is firm and can take considerable weight.
You’ll need good quality wood glue, and short wood screws to ensure the pieces are secure.
Glue the Main Pieces
Glue all the pieces (of the right length, width and height) together securely with good quality wood glue.
You don’t want to stop just at gluing; you need to screw them as well.
After gluing the pieces together use short wood screws and a drill to further secure the pieces.
Attach the Legs
Once the frame-work is ready, you need to attach the legs to the bottom.
Again, you use wood glue to attach the legs to the bottom of the bench. Apply the glue to the leg first and then attach it to each corner.
Glue can take time to dry, so you need to find and apply clamps to keep the legs in place, while glue dries.
For added safety, use short wood screws to secure the legs more firmly to the bench.
Use Your Preferred Stain
Finally, it’s time to put the appropriate stain, color of your choice!
Once you have applied the stain, you need to wait for it to dry completely; else you could leave finger-marks on the wood which could spoil the overall looks.
So wait for the stain to dry completely.
This is all what it takes to build your own piano bench.
Here’s a cool video that shows how to plan & make a bench with storage space within.
Things to Keep in Mind
Here are the things to keep in mind:
- Confirm all your measurements, so that it becomes easy to assemble things.
- If you are going to use a circular saw, or any other sharp objects, take adequate protection. Use protective glasses when using the circular saw.
- When applying glue and staining the bench, try doing it in a well ventilated area so that it dries up faster.
You may use a suitable polish (for wood surfaces); there are many who use french polish to restore the wood finish.
Once you have implemented all the steps of how to build a piano stool, you are all set to enjoy your piano bench.
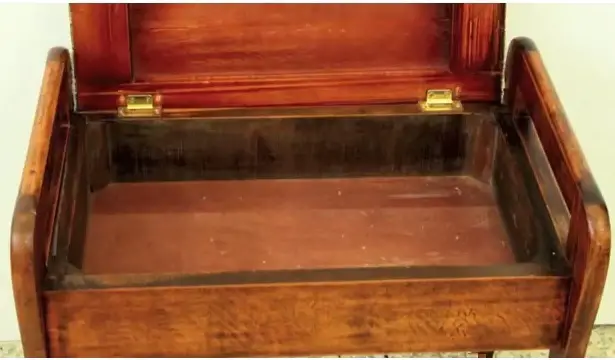
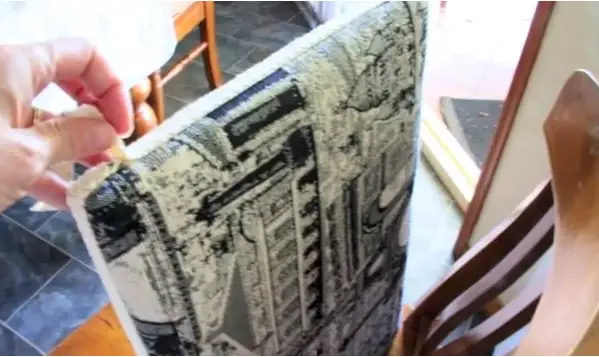
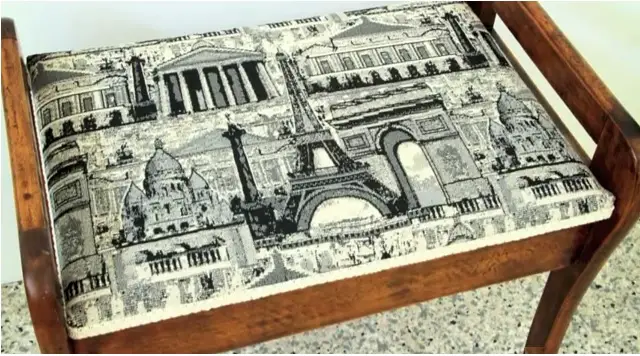
Here’s a piano stool restoration video that will give you more tips:
Back to home page from How to Build Piano Bench with Storage
KeytarHQ editorial team includes musicians who write and review products for pianists, keyboardists, guitarists & other musicians. KeytarHQ is the best online resource for information on keyboards, pianos, synths, keytars, guitars and music gear for musicians of all abilities, ages and interests.


Leave a Reply