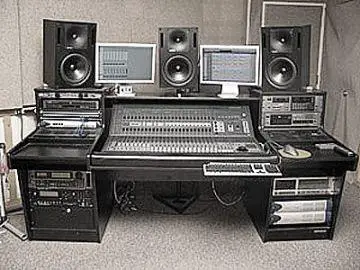
Once you have recorded all the tracks, there is still a lot of work that goes into the making of the final mix. And similar to playing a music instrument, Music Mixing is also an art; the more you spend time on it, the better you get at it. Here are tips that will help you to create great sounding mixes.
Overview of Mixing
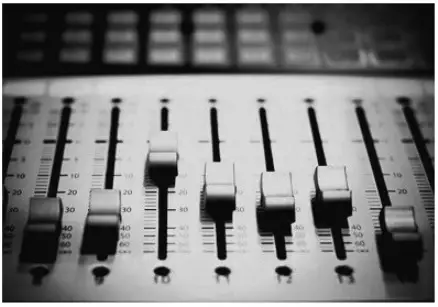 Once all your tracks are recorded in the sequencer, it is time to begin the mixing process.
It is common to record tracks one at a time; each instrument or voice is recorded to its own separate track inside the DAW (sequencer). This is known as multi-track recording where you build the song one step at a time.
And once they are all in there, it’s time to mix all the tracks together. That is when you decide what tweaks you want to do to the individual tracks so that they sound good together.
Why Mix?
Some reasons would be obvious, such as the ones around volume. You can even add effects overall to make the song fit in a particular style.
Here are more reasons:
- Control the volumes of each track (using the volume fader)
- Left-to-right positioning of the track (using the pan-pot)
- Use EQ settings to change the frequency layout
- Use dynamics, compressors and other signal processors
- Use delay, chorus, and other effects, and more
As you can see, you could do several things to the song, even after it has been recorded to give it a certain mood / color.
Recording Setup & Features
A music mixing desk is where you control all your recorded tracks such as vocals, music instruments, and the various MIDI tracks.
In professional studios, this is a physical mixing desk (aka mixing board or audio production console), whereas in your home recording studio this is probably going to be the software mixer inside your software sequencer.
But then the basics of using them are pretty much the same.
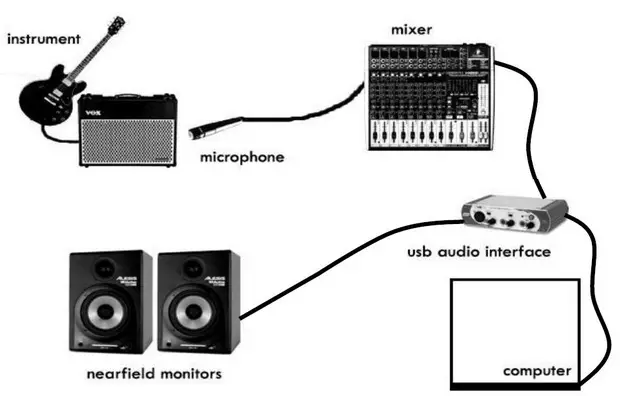
Digital mixing desks and software program nowadays are far more intelligent, and lets you edit changes or add effects at any time, be it to the tracks or to the overall mix.
Using automation, you can specify where in the track you want to add a particular effect, so that you don’t have to manually do it when you are at that particular point in the track.
For example, you could slightly increase the reverb level on your drums during your final chorus, giving the impression that your song has ‘got bigger’, helping to give it more impact.
Now if you set this thing using automation, you can set it with precision and don’t have to rely on doing it manually.
With automation, you can control almost anything and down to the smallest details; things such as volume, pan, and effects levels (reverb/delay) can be changed and recorded as your song is playing.
Using Processors and Effects
You want the overall mix to sound better and punchier, and that is where the various signal processors and effects such as compression and EQ (equalizer) really help to make the overall sound better.
You will need practice using these, so that you know how it impacts the overall sound.
Mixing Tips
If you are new to mixing, you need to spend hours practicing how to mix, so that you can do the appropriate adjustments and add the right effects so that the final song sounds as you want it to be.
And just because your DAW software has some cool features and you have access to tons of effects doesn’t mean you use them all in the mix.
Keep things simple, here are more tips for your music mix.
- Make sure your reverb fits nicely in the song
- Make Use of Automation
- Don’t be afraid to weak the presets
- Keep things simple, add simple effects
- Avoid monotony, try to vary things
- Avoid clutter in the mix
Knowing How Loud to Crank Up the Music
When it comes to listening music, hearing them loud is the norm, as it is associated with high energy, excitement and emotion for music listeners. No wonder, every time you step inside a club dance floor or attend any live rock concert, you get overwhelmed by aural and physical sensations.
Here are some facts about how music is recorded (in studios) and played at various venues.
- There’s no advantage to peaking to full scale. In fact, there are some disadvantages, in the form of distortion.
- What makes most system feel louder is the bass and overall EQing. Bass doesn’t give you tinnitus (ringing or buzzing in the ears) – high end does.
- Making your tracks stupidly loud to rock the dance floor harder doesn’t work either. The best thing music-makers could do is to come down a few decibels, then just turn the level up on the sound system. Producers used to do this and it sounds great.
Using Audio Effects to Create a Professional Mix
Audio effects like compression, equalization, reverb, etc. (available as software or hardware) make your mix sound better. Here’s how to use these audio effects to produce a professional mix.
Audio compression
Audio compression is used to reduce the difference between the highs and the lows of an audio waveform to get a more punchy / tight sound. Compression makes the sounds appear ‘fatter’ and with more ‘punch’.
If you have spent even some time recording your own stuff, I’m sure you would have observed that somehow the mix that you’ve made doesn’t sound tight. It just doesn’t sound like the recordings that you hear nowadays. In fact, you might be thinking that it sounds like the recordings from the 1960s or 1970s. If you have been thinking that way, then your observation is indeed correct.
When you apply the compressor effect for the first time, you’ll be really happy to hear your mix (after applying audio compression).
But what has happened over the years is that music producers are over-doing it; they are now engaged in a race where everyone wants their songs to sound “punchier” than the last guys. The overall volume of songs has gone much higher than the tracks that were recorded several decades back.
Be it movies, advertisements on TV, or dance songs, they are compressed to make them sound louder and to make them stand out, to make you listen.
Notice how when you’re watching television, all the commercials sound so loud, almost as if they are going to knocks your ears out. You really have to grab the remote to reduce the volume!
Nevertheless, it’s an important concept to learn because the right amount of compression is required for any audio mix.
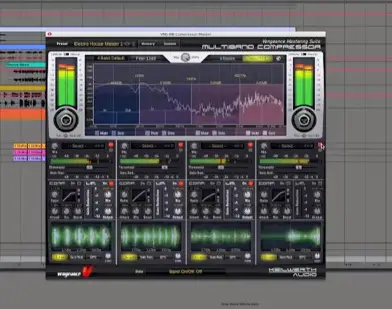
If you take any old recording, preferably from the 60s to 70s, something that is catchy, fast-paced, and has lots of instruments including trumpets, you’ll hear that in certain sections of the song, the volume seems to be a bit high or is clipped, compared to the rest of the sections. You might suddenly feel the need to reduce the volume.
So what is happening here; is there any problem with the recording? Not really, it’s just that the dynamic range of the song is too high.
Simply put, a dynamic range is the range of volume that any particular sound has, from the lowest frequencies to the highest.
Usually, at the lowest frequencies the recording equipment may also pick up some background noise, and at the highest frequencies it may also pick up breath sounds, and may not sound consistent with the rest of the sections.
This is where a compressor really helps!
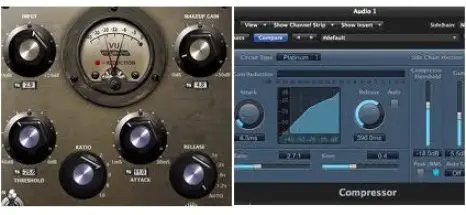
The range of volume (dynamic) is lowered.
Once the compressor has compressed the dynamic range, you now have some bandwidth left to increase the overall volume. This is where you need to turn it all up!
This is done using the Gain make-up.
It’s like a volume control for the compressor. This makes it possible to boost the lower sounds so that they become more audible.
If you are using a compressor for your recorded music and are unable to see any reduction, then you may have to probably lower the threshold-value to notice any gain reduction. That’s the way the compressor works; it won’t come into action until the audio-volume actually peaks over the threshold.
So if you think the compressor is not actually coming into play, you may have to play around with the controls till the peak of the audio goes over the threshold you have set on the compressor, if you want any gain reduction to happen.
Equalization
You may have already fiddled with this thing on your favorite music player, be it on the computer or any other mp3 player. This effect that helps you give different color to the sound.
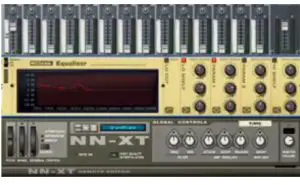
Equalization is the process where you strengthen (boost) or weaken (cut) certain frequencies in your sound.
With this, you are basically trying to adjusting the balance between the frequency components within an electronic signal. You do this using the equipment known as equalizer. It can be a hardware or a piece of software that lets you do that.
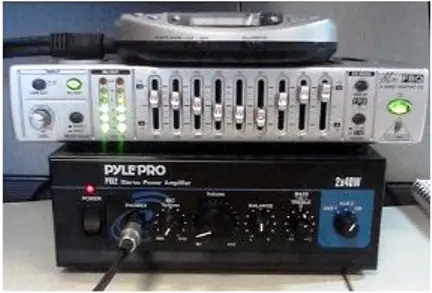
There are several kinds of equalizers (EQs), here are the more popular ones:
- Shelving
- Parametric / semi-parametric equalizer
- Graphic equalizer
Here’s a nice tutorial video explaining the concept of Equalization:
Understanding Mastering
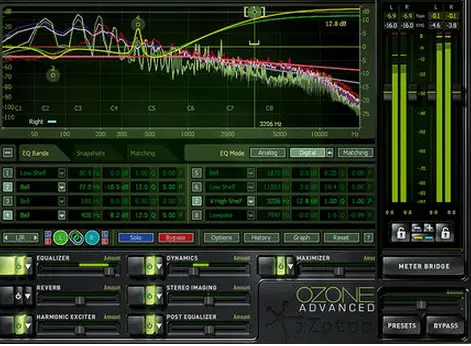
Video tutorial explaining the basics of Mastering
Overdoing compression is the norm and people have forgotten how important dynamics are. One needs to remember that mastering involves making subtle enhancements to the tracks, and not changing them completely.
For instance how loud any song should be also really depends on the genre of the music.
If the music genre is something like jazz, classical, indie folk, etc, then the loudness levels has to be different from say metal and other types of dance music where loudness is equally or more important than dynamics.
Masters have become louder and louder, at the expense of the music becoming harsh and lacking punch and dynamics. One of the main causes of this epidemic is the use of the Peak Limiter to achieve increased levels in the mastering stage. Peak limiters attenuate transients and often reduce punch, stereo imaging, can greatly alter mix balances, and cause a fatiguing result to the ears.
Most of the software allows you to easily tidy up the sound quality of mastered or un-mastered recordings while preserving the original intent of the producer and/or recording engineer.
Closing Thoughts
Audio effects such as compression can be a difficult concept to understand initially, as you just expect your recordings to sound great just by buying recording equipment. That is why I often say that buying equipment is only one half of the solution; you need to learn to use the various effects well to produce a nice sounding mix, based on various genres.
In order to improve at producing better mixes, you should start listening carefully to your mix. Use your digital audio editor to examine wave-forms, and apply various effects to see how it affects the sound. With experience and more understanding of the various effects, you will graduate one level above from being a beginner.
KeytarHQ editorial team includes musicians who write and review products for pianists, keyboardists, guitarists & other musicians. KeytarHQ is the best online resource for information on keyboards, pianos, synths, keytars, guitars and music gear for musicians of all abilities, ages and interests.


Leave a Reply