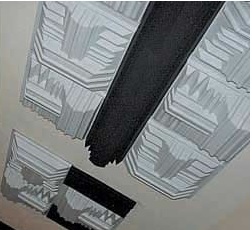
Acoustic Treatment Materials: Foams, Panels & Other Best Absorption & Isolation Materials. Every professional studio use these to absorb & diffuse sound. These usually go on the wall or the ceilings and helps to get the best sound while recording.
Introduction
Types of Materials
You will come across these materials in any studio:
- Sound Absorbers
- Sound Diffusers
- Noise Barriers
- Sound Reflectors
Fabrics
You will also see acoustic fabrics used in most studios. These are typically used to either absorb sound or as a cover for most acoustic panels.
Some fabrics can be used as a speaker grill cloth or as a finish on other types of materials.
Best Acoustic Treatment (Absorption & Isolation) Materials
Here are some of the recommended acoustic treatments materials for your studio.
Auralex 2″ Studiofoam Wedgie 12×12 (1 Foot by 1 Foot) Tile / Acoustic Absorption Foam
Use these Auralex Tiles if you’re looking for affordable acoustic treatment for any room. These 1-foot Studiofoam Wedgies of 2-inch-thick foam absorb sound in recording spaces and control rooms. Best for controlling ambiance and room reflections.
Buy on zZounds
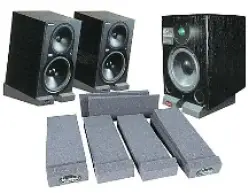 Auralex MoPAD 12 inches by 4 Inches Monitor Isolation Pad, 2 Pads
These Pads prevent the interference of resonant frequencies, these provide sonic isolation between your monitors and whatever your monitors are resting on. You can see marked improvement in the accuracy of your monitoring system.
Buy on zZounds | Buy on Amazon
Auralex D36 Roominator Kit: 36 Stylish Foam Panels
The Auralex D36 Designer Series Roominator Kit is designed to dramatically improve your acoustics, and give you a great designer look. Includes 36 stylish foam panels that suppresses annoying slaps and flutter echoes, provides a more accurate listening environment.
Buy on zZounds | Buy on Amazon
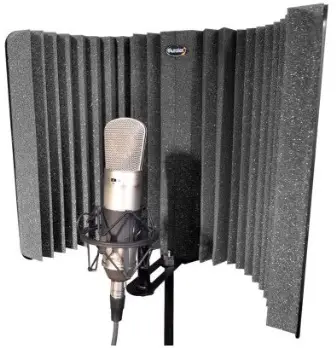 Auralex MudGuard Vocal Recording Isolation Shield / Sound Dampening Foam
The Auralex MudGuard isolation shield surrounds your microphone with Auralex acoustic foam, and helps to reduce room ambiance so that you can record much tighter vocals at home. It can be used in various recording situations including vocal, acoustic instrument, and drum tracking. It comes with all of the hardware necessary to easily mount to any mic stand.
Buy on Amazon
Beginner’s Guide to Room Acoustics & Recording Vocals
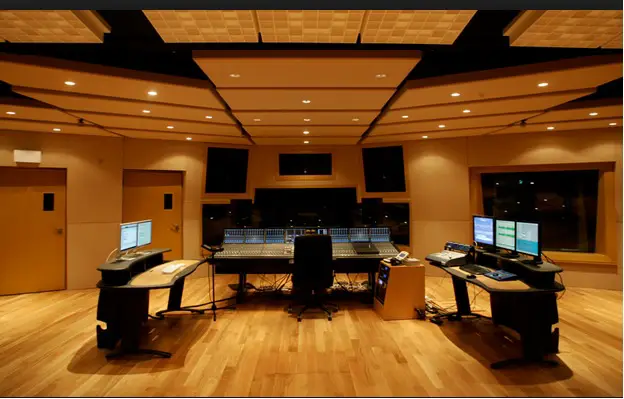 If you have been using more of loops, synth based sounds, VSTs for your recording, then you will have to learn different set of tricks when it comes to recording vocals. Here are useful tips to help you get started with recording vocals.
Most of us begin learning about music recording using our computer, and by using sequencers such as FLstudio or Reason. Most often, all the sounds you need is provided in there and does serve the purpose initially.
But sooner or later, you’ll get to the stage where you’ll need to record live vocals and live instruments such as guitar, violins, etc. That is where you’ll need additional gear, and even learn newer techniques, to be able to record vocals perfectly.
Recording Vocals / Live Instruments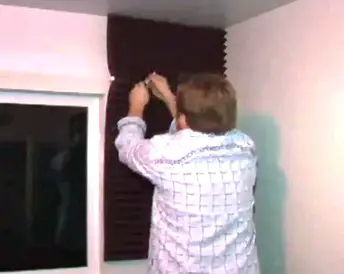 Basically, there are two parts to it (Recording vocals):
- Sound Proofing a Room to get a ‘dead’ environment
- Second is to use the right microphones and use them correctly
The reason it is important is because listeners are likely to listen to this part closely, and will remember this part, and also likely hum the vocals part.
So you’ve get it right, and record it in the best manner possible.
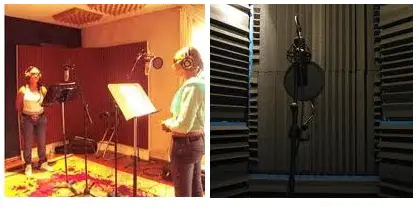
Importance of Placement
Most music enthusiasts think that having good quality equipment and speakers is what you need to produce good sound, and only these make the biggest difference to our ears. However, the truth is that there are other factors that also impact the sound that you hear, such as:
- Placement of the speakers
- Design of the Room, and so on
After all, the sound that you hear is a mix of direct as well as the reflected sound. It’s a combination of the sound that travels straight to you from the speakers, and the waves that bounces off the walls, floor, ceiling, and furniture.
Room acoustics involves analyzing how sound would behave in an enclosed area, and how best to ensure that the place is well designed for delivering the best sound.
Checkout this video that explains the importance of various acoustic treatment materials such as absorption panels, bass traps and diffusors.
Sound Proofing the Recording Room
One of the reasons that many feel that recording vocals is difficult is because the room factor is playing in their minds. They’ve heard that you need a special room, like the ones available in studios, to be able to get good results.
The room choice is obviously important, and it is also a fact that recording studios do spend some money to make a room fit for recording.
In the recording terminology, they make the room ‘dead’, which means it is non-reflective, which means the sound will not reflect / bounce off the surface of the walls.
It’s exactly the opposite in the bathroom – I’m sure you know how it sounds when you sing in the bathroom, but that is not conduce for live recording unless you want a special effect.
For most of our needs, we want the room to have non-reflective surfaces, and studio rooms use furnishings, carpet tiles and ceiling tiles, to make it possible to achieve that.
Why Use Dead Room?
The reason you need a dead environment is so that you can add all the effects you want later, once the tracks have been recorded.
It gives more control to the sound engineers to make the final mix sound in a particular manner.
But assuming if you record in a bathroom like setting, it’s more difficult to get rid of that effect, in case you wish to, but you can always add a bathroom like effect later on using the various sound effects / reverbs.
However, this is not a hard & fast rule.
For example, if you wish to record a choir in a cathedral, you’ll definitely want the acoustic room sound in that case. But then, those are special cases. For most of our recording needs, especially for those POP type songs, you’ll need a ‘dead’ room so that the vocals can be treated later on.
How to Create Dead Space at Home
Okay, so you don’t have the money to spend in a studio for recording vocals, or you don’t want to do it because you’ll be recording vocals quite a lot in the future, and you would rather spend that money on your home studio.
So how do you do soundproofing at Home?
Again, there are no set rules; the intention obviously is to reduce the sound reflections, and you could use any available material at home.
As a rule, the denser the material, the better is the sound absorbed.
People use pillows, heavy drapes, blankets, duvets, etc. and even things like chairs and tables. It’s only limited by your imagination.
The second part to recording vocals is to use mics & other effects correctly.
Videos: Improve Room Acosutics
Here’s a video showing a room with improved acoustics:
Here’s another video giving tips on how to improve room acoustics.
To Summarize
How to Improve?
Here are some steps that you can take to improve the Acoustics of your Room:
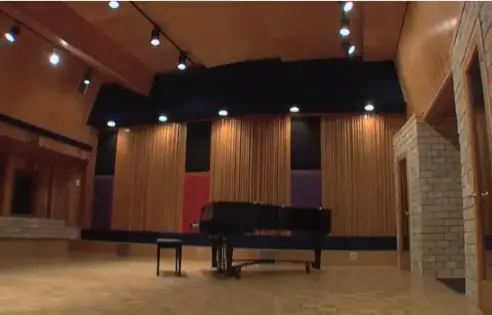
- Rearrange the furniture so that the sound travels directly to you.
- Preferably listen to the sound at ear-height.
- Install drapes/curtains for the windows to absorb reflections.
- Have a carpet if you have wood or vinyl flooring, to absorb the reflections.
- Have Bookshelves on the opposite wall to help diffuse the reflections.
- Invest in components that improve the acoustics of the room.
What if you have limited scope to alter the room’s layout, decor or furnishings?
In that case, look for equipment such as speakers / sub-woofers with built-in bass equalization or automatic speaker calibration.
With experience, you come to know that, besides the equipment, even your room plays an important part in the sound that is produced from your system. And as with any other component of your studio or music setup, there are things that you can do improve your room acoustics.
More Resources
KeytarHQ editorial team includes musicians who write and review products for pianists, keyboardists, guitarists & other musicians. KeytarHQ is the best online resource for information on keyboards, pianos, synths, keytars, guitars and music gear for musicians of all abilities, ages and interests.


Leave a Reply